Curtido and Tortillas Salvadoreñas
Source: Karla Tatiana Vasquez, The SalviSoul Cookbook
Recipe Type: Appetizers and Sides | Seasons: Spring
These recipes appear in The SalviSoul Cookbook by Karla Tatiana Vasquez (Ten Speed Press, 2024) and were demonstrated at the Foodwise Classroom on May 4, 2024.
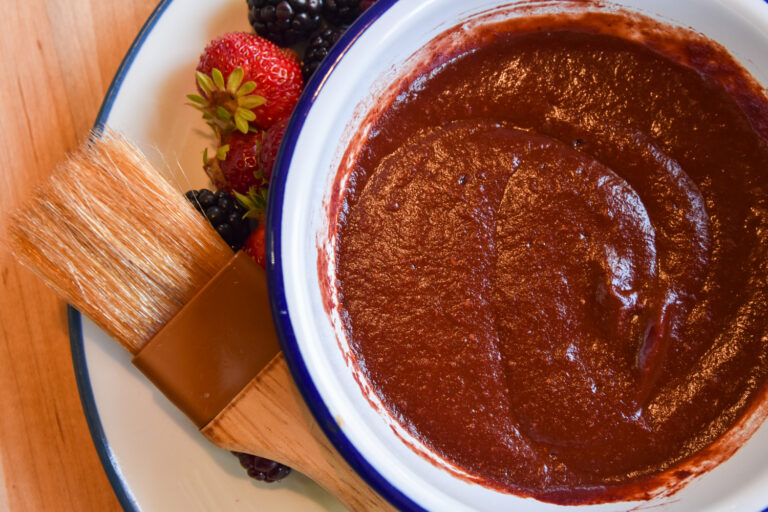
Curtido
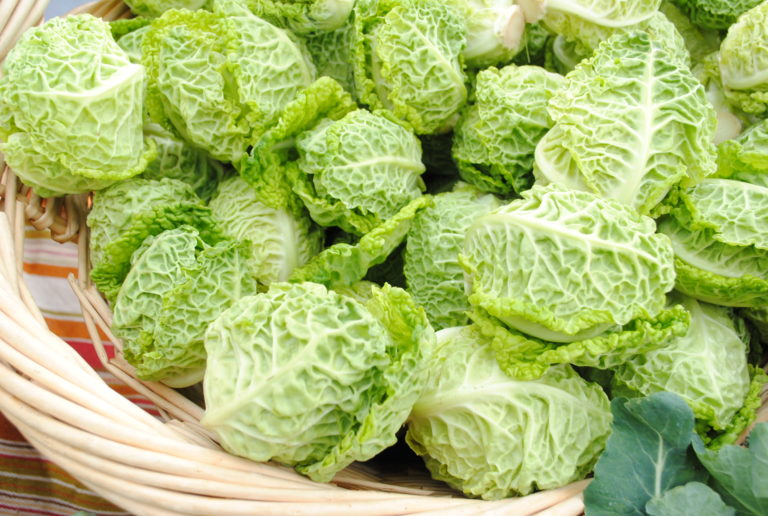
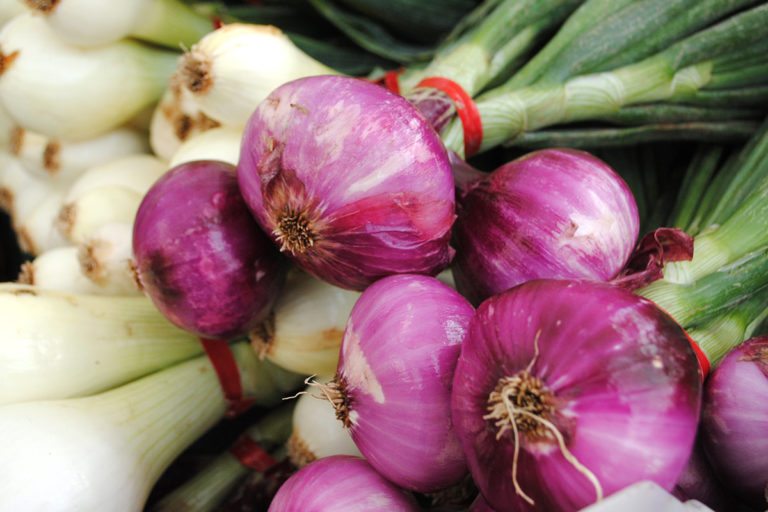
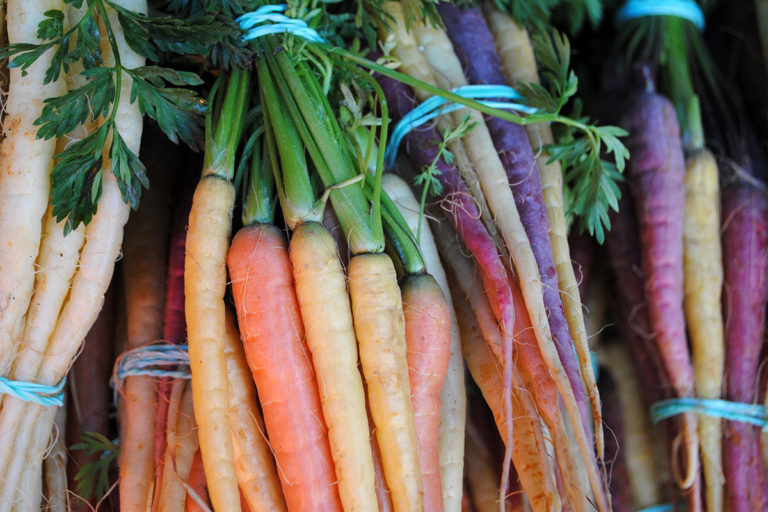
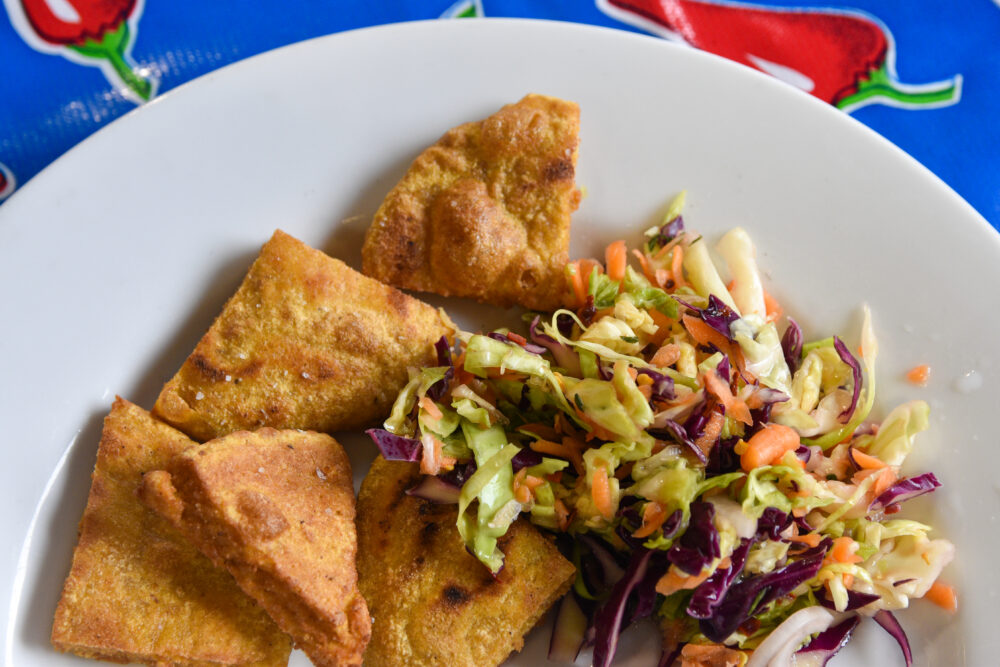
The combination of cabbage, onion, carrot, spice, oregano, and vinegar in Salvadoran cuisine is what we lovingly call curtido. The word is derived from curtir, meaning “to age,” because by the time it’s enjoyed, curtido has aged with the help of vinegar or citrus juice. Some describe this accompaniment as a slaw while others compare it to pickles. No matter the name, curtido has a very specific job.
Its crunch and hit of acid offer brightness and texture to traditional dishes, like pupusas, pastelitos, yuca frita, and even tamales, but it can also be eaten in salads and in burgers, or by itself as a simple snack.
Methods for preparing curtido vary. Some prepare a hot brine that is poured over the vegetables and spices and allowed to sit for at least an hour after cooling. Others parboil or massage the vegetables with salt and then submerge them in a cold brine mixture. Because the vegetables keep their texture, and their flavor stays bright and punchy, curtido is deeply satisfying on the Salvadoran table.
Here in Ruth’s recipe, she massages the vegetables and then adds the remaining ingredients to the mixture. This is the exact technique she and her mother, Delmy, have used for their pupusa stand, Delmy’s Pupusas. They were the first to sell pupusas at farmers’ markets in Los Angeles.
Curtido is ready to eat shortly after it is made, but like most things, its flavors deepen and develop with time.
Makes 1 quart
INGREDIENTS
1 small or medium head green cabbage, thinly sliced
1½ small red onions, thinly sliced
1½ cups grated carrot
2 tablespoons kosher salt
2 teaspoons dried oregano
2 teaspoons crushed red pepper flakes, or 1 jalapeño chile, halved
2 cups water
1 cup apple cider vinegar
PREPARATION
In a large bowl, combine the cabbage, onion, and carrot and mix until thoroughly combined. Set aside.
In a second large bowl, combine the salt, oregano, and red pepper flakes. Stir in the water and apple cider vinegar.
Pour the spiced vinegar mixture over the vegetables and knead until the vegetables have softened, about 5 minutes. Let sit for 10 minutes at room temperature before serving.
Store the curtido in an airtight container in the refrigerator for up to 1 month.
Tortillas Salvadoreñas
It’s customary to make a stack of fresh tortillas Salvadoreñas at every mealtime, with a few exceptions. For example, it’s common to eat tamales with pan francés instead of tortillas. In my family, a person could eat three or four tortillas each, if not more. I always like to use a manta, or kitchen towel, to keep the masa covered while I’m making the tortillas. It’s what I was taught, especially if you’re making many of them; if your masa is sitting without a cover, it dries out.
For tortillas Salvadoreñas, prepare to make a thicker tortilla. It eats more like a flatbread; think naan. But to call it just a thicker version of something else, though, is a travesty. It would be like calling a French roll the same thing as a baguette— it’s technically the same but different. The eating experience is more nuanced. It’s also a rite of passage—albeit often a gendered one. As illustrated in some of the stories by the SalviSoul moms, making a Salvadoran tortilla is as important as knowing the geography of where El Salvador is.
Personally, I can’t put away more than two. Toast one up real good, low and slow, until the color on the edges has darkened and scraping it with a fork makes that scratchy, crisp sound. Sprinkle it with a pinch of salt, and it’s good enough to satisfy any hungry belly. It’s also been a beacon of strength for many Salvadorans who suffered wartimes with little or no food. For those who could not afford meat or even frijoles, it was “por lo menos, hay tortillas”—(at least, there are tortillas).
Some places in El Salvador, like Santa Ana and La Unión, offer different versions, and employ expert tortilla makers who can make thin versions without a tortilla press. These are as thin as fabric but still quite large. Another variety that is mentioned in the following story is called a chenga, which is made in cafetales, or coffee haciendas, where the workers were often fed these large, plate-size tortillas. In my family, the standard for tortilla making was my great-grandmother Mamá Juana. She had an even tempo and incredible muscle memory; her tortillas were perfectly circular and uniformly thick.
Makes 6
INGREDIENTS
2 cups masa flour
1 teaspoon kosher salt
2 cups lukewarm (about 98°F) water
PREPARATION
In a large bowl, using the tips of your fingers, gently combine the masa flour and salt. Gradually pour in 1 cup of the water. Using your hands, thoroughly mix the water with the dry ingredients. Slowly add the remaining 1 cup water and keep mixing until the dough reaches the consistency of Play-Doh. It should feel cool to the touch and evenly moist throughout. Cover with a manta and set aside.
Set a comal or griddle over medium-high heat. Once it’s hot, sprinkle with a little water to check if it is ready; the water should quickly evaporate. Turn the heat to medium.
Fill a small bowl with water. Separate the dough into six golf ball–size portions, 3 to 4 ounces each. Roll them into balls and dip the fingertips of both hands into the water and raise them upward, allowing the water to drip down and spread across both of your palms.
Take out one ball and cover the remaining dough with the towel to keep it from drying out. Center the dough ball in the palm of your nondominant hand and secure it by cupping your hand. Using only the fingers of your dominant hand, pat the ball into a disk that is 1⁄4 inch thick and about 5 inches wide.
Gradually uncup your hand until it is flat, and rotate the disk as the dough flattens out. Once you’ve patted down the dough, rotate the tortilla upward so it’s standing on the palm of your hand. Using the index finger on your dominant hand, smooth out the rounded edges of the tortilla, which should be as evenly thick and round as possible.
Carefully place the tortilla flat on the comal and let cook for about 5 minutes on each side. Turn the heat to medium-low so the tortilla doesn’t get too toasted on one side. Using a spatula or your hand, turn the tortilla over. When it puffs up, it is finished cooking.
Repeat for the five remaining dough balls, keeping an eye on the heat and adjusting it so that the comal never gets so hot that it burns your tortillas or so low that the tortillas take too long to cook.
Transfer the finished tortillas to a basket and cover with a manta to keep warm before serving.