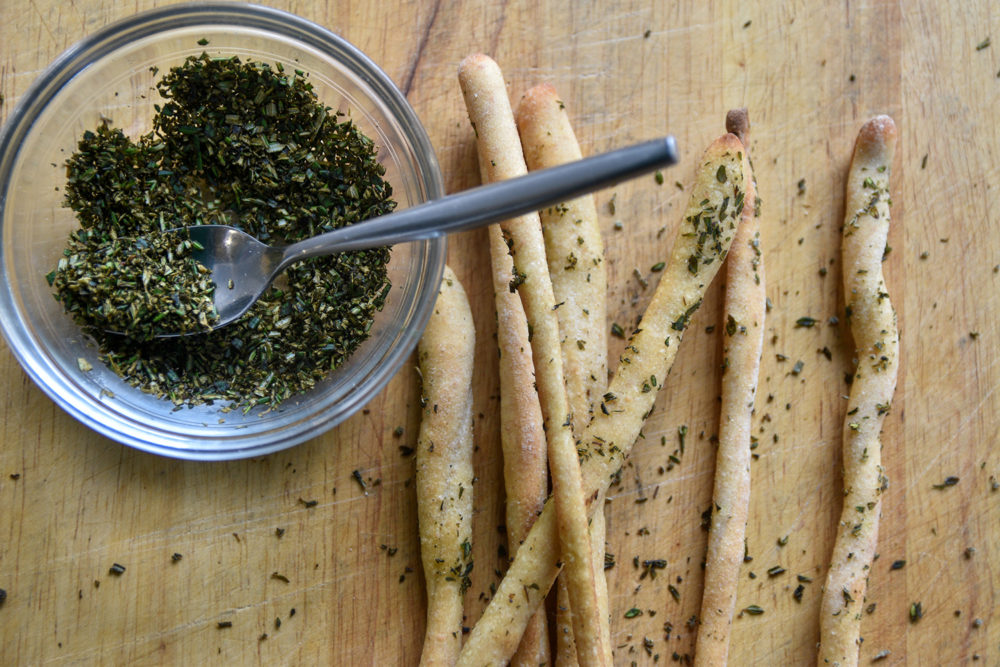
Grissini (Italian Breadsticks)
Source: Jennifer Latham, Baking Bread with Kids
Recipe Type: Appetizers and Sides
This recipe appears in Baking Bread With Kids by Jennifer Latham (Ten Speed Press, an imprint of Penguin Random House, 2022) and was demonstrated at the Foodwise Classroom on December 3, 2022.
Grissini are a classic Italian snack that’s kind of a hybrid between a cracker and a breadstick. If you like making play-dough snakes, you’ll love making grissini. Grissini is a very old type of bread in Italy, and legend has it that they were created as an easily digestible bread for a young duke who was a sickly child. After several years of eating grissini, the young duke faced the French in a big battle and won, resulting in him being crowned the King of Sicily. These are good for a snack or appetizer. I love to put a vase of them on the table before a dinner party. They make a stunning edible centerpiece.
Yields about 24 breadsticks
INGREDIENTS
Sponge (make 3 hours ahead)
½ cup (118 grams) warm water (about 85 F)
½ teaspoon (2 grams) instant dry yeast
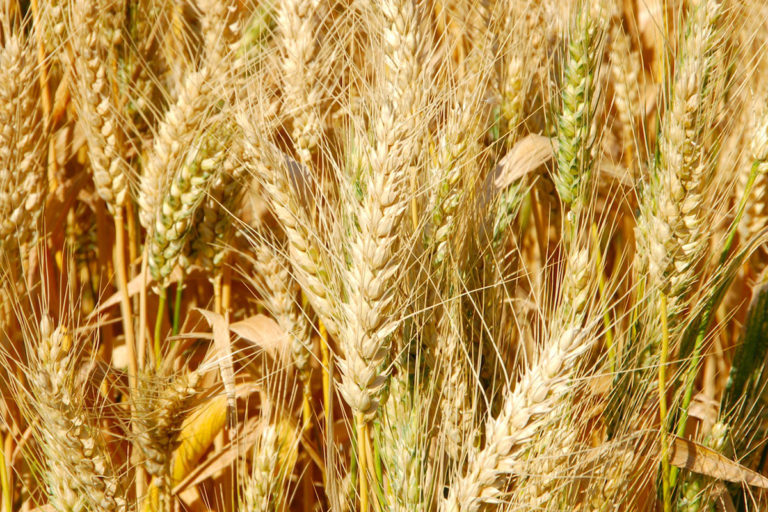
1 cup (140 grams) whole wheat flour
Dough
2/3 cup (157 grams) warm water (about 85 F)
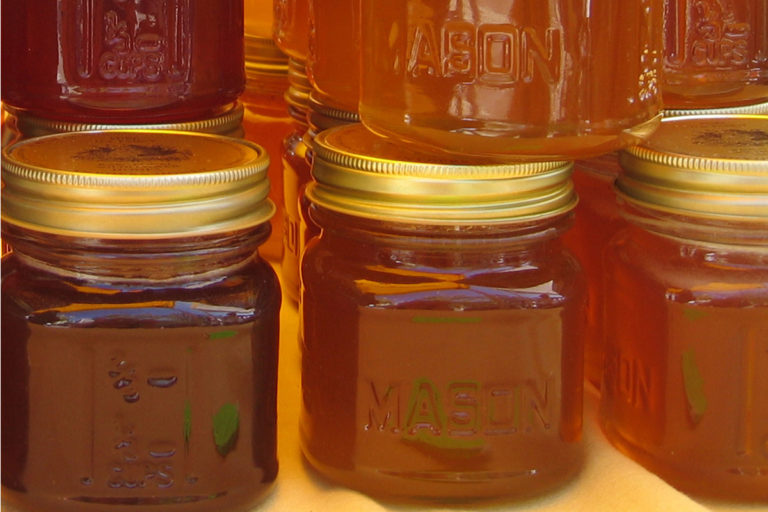
1 tablespoon (21 grams) honey
1 tablespoon (14 grams) extra-virgin olive oil, plus more for brushing
2 teaspoons (6 grams) kosher salt
½ teaspoon (2 grams) instant dry yeast
2 2/3 cups (215 grams) sponge
1 ½ cups (210 grams) all-purpose flour
Optional additions: sesame seeds, nigella seeds, chopped rosemary, chopped thyme, etc.
PREPARATION
To make the sponge: In a small mixing bowl, measure the warm water. Sprinkle the yeast on top and stir with a spoon to dissolve the yeast. Add the flour to the bowl. Stir with a wooden spoon or your hand until the flour and water are combined well and there are no lumps. Cover the mixing bowl with a clean linen and let the dough rest in a warm spot on the countertop for about 3 hours. It’s ready to use when it has doubled in size and is very bubbly.
To make the dough: Remove the bowl of a stand mixer and measure the water, honey, olive oil and salt into it. Sprinkle the yeast over the water mixture and stir to dissolve. Stir the sponge (just to break it up a little) into the rest of the wet ingredients.
Measure the flour into the wet ingredients and return the bowl to the mixer, fitted with the dough hook attachment. Mix in low speed for 3 minutes, until the ingredients are combined well. Scrape the sides and bottom of the bowl well to make sure everything is completely incorporated. Let rest for 3 minutes.
Mix in medium speed (or knead on a clean, lightly floured work surface) for 3 to 5 minutes, until the dough is strong and supple. If the dough seems like it’s starting to tear, let it rest for a minute before resuming mixing.
Once the dough is mixed, transfer it to a clean mixing bowl. Cover the bowl with a clean linen and place it in a warm, draft-free spot. Let it rise for 1 hour. (Alternatively, you can put the dough in the refrigerator overnight and continue the steps the next day.)
Once the dough has risen a little bit, you’re ready to divide the dough. Scoop it out of the bowl onto a clean work surface. Pat the dough out into a large, thin rectangle, about 8 by 12 inches and ¼ inch thick, with the 8-inch side facing you.
Use your metal dough scraper or a knife to cut a ¼ inch piece (or a very thin piece) of dough off of the side of the rectangle closest to you. Roll it out on the table so that it is about 10 inches long and very skinny – no thicker than a pencil. It’s okay if it’s not perfectly uniform; these are supposed to be rustic.
As you shape each one, place it on a sheet pan lined with parchment paper, about ½ inch away from its neighbor. Continue until all the dough is shaped.
Brush them very lightly with extra-virgin olive oil. If you want to sprinkle seeds or seasonings on, now is the time.
Pre-heat the oven to 350 F and place a rack in the middle position.
Let grissini rest for 15 minutes, then bake for 10 minutes.
Check to see how they are baking. If necessary, rotate the pan so that they bake evenly. Bake for 7 to 10 more minutes, then check to see if they’re done. They should be a light golden brown. Note: make sure to keep a very close eye on them in the oven- these can burn very quickly because each uses such a small amount of dough.
Let cool for about 10 minutes, then transfer to a cooling rack. Let cool for at least 30 min (they must cool all the way to be crispy). If they still aren’t crispy after they cool, you can re-toast them in a 350 F oven for 5 to 7 minutes until golden, then let cool again. You can keep them in a sealed container or a bag on the countertop for up to 4 days.