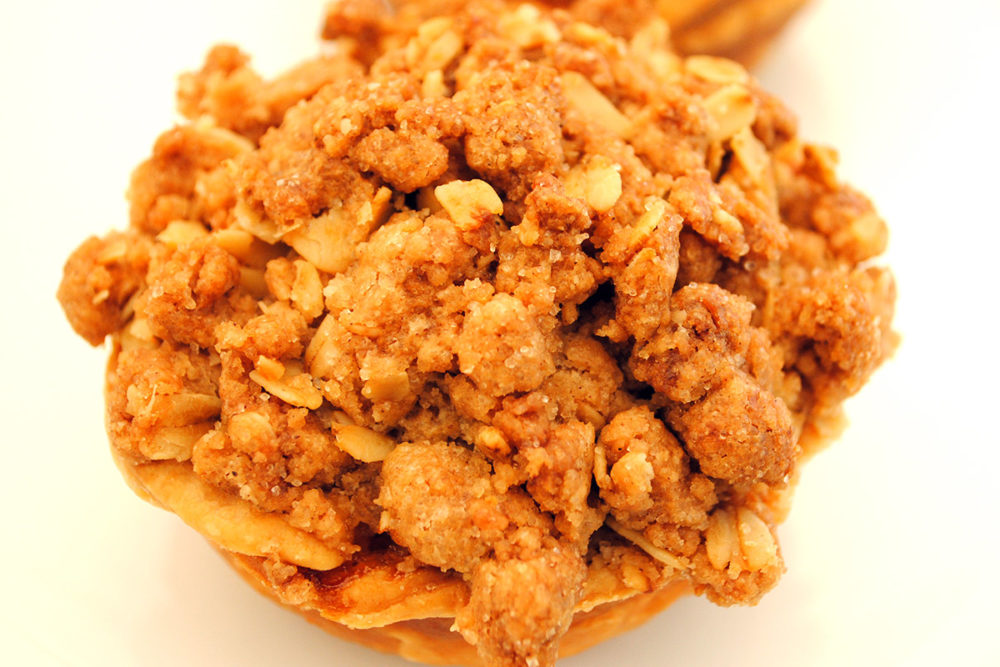
Apple Crumble Mini Pies
Source: Anna Derivi-Castellanos and Lenore Estrada, Three Babes Bakeshop
Recipe Type: Desserts | Seasons: Autumn, Winter
This recipe was demonstrated for CUESA’s Market to Table program on February 14, 2015.
Scroll to the bottom for additional mini pie making and baking tips.
Makes 6
INGREDIENTS
Pie Crust
¼ pound plus 1 tablespoon butter, plus about 2 tablespoons for greasing muffin tin
⅓ cup ice water
1½ teaspoons vinegar
1½ teaspoons granulated sugar
½ teaspoon fine salt
1½ cups all-purpose flour
Crumble Topping
1 cup rolled oats
½ cup all-purpose flour
3 tablespoons brown sugar
3 tablespoons granulated sugar
¼ pound butter, melted
¼ teaspoon ground allspice
¼ teaspoon ground ginger
¼ teaspoon ground cinnamon
½ teaspoon salt
Filling
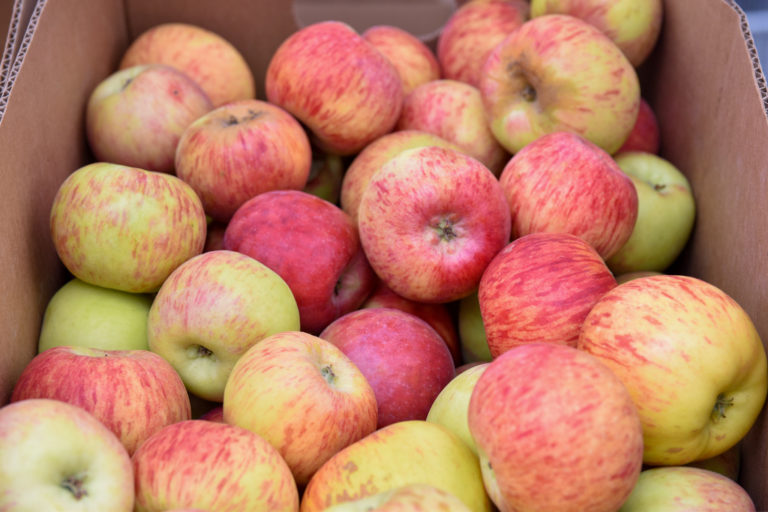
1¾ pounds apples, washed, cored, and chopped into dime-size pieces
1½ tablespoons freshly squeezed lemon juice
1½ tablespoons all-purpose flour
½ cup granulated sugar
¼ teaspoon ground cinnamon
Pinch of salt
Pinch of ground allspice
Pinch of ground nutmeg
½ teaspoon freshly grated lemon zest
1½ tablespoons unsalted butter
PREPARATION
To make the pie crust:
1. Cut ¼ pound plus 1 tablespoon of butter into ½-inch cubes and place in the freezer.
2. In a bowl, combine the chilled water with the vinegar, sugar, and salt and stir until dissolved. Place in the freezer to chill.
3. Measure the flour into a chilled bowl. Remove the butter from the freezer and, using a pastry cutter, cut into the flour until the mixture resembles a coarse meal. Use your hands to break up any large pieces of butter.
4. Sprinkle the flour and butter with the water and vinegar mixture, a little at a time, tossing the mixture at first and then pressing together with a spatula, until the dough just comes together. Pat the dough into a disk, wrap with plastic, and chill for at least 1 hour in the fridge.
5. Use a rolling pin to roll out the dough into an even rectangle at least 9 inches by 13 inches. Use the lid of a takeout container and a pizza slicer (or a very large biscuit cutter) to cut 4-inch circles from the sheet of dough. Work quickly and keep the dough cold so it’s easier to handle. Carefully transfer the circles to a cookie sheet lined with parchment paper and chill for 30 minutes.
6. Melt about 2 tablespoons of butter and, using a pastry brush or paper towel, generously grease the top and cups of a muffin tin. Heated pie filling will stick to an ungreased tin so be sure to grease the whole tin generously for easier removal later.
7. Fit your circles into the muffin tin, making sure that there are no air bubbles on the bottom, corners, or sides of the muffin cups. Trim any extra overhang with a sharp knife. Chill for 30 minutes while you make your filling.
To make the crumble top:
1. In a medium-sized bowl, mix together the dry ingredients.
2. Pour the melted butter over the dry ingredients and mix until completely incorporated. NOTE: You can store any leftover crumble in an airtight container, refrigerated, for up to 2 months for future use.
To make the filling:
1. Preheat the oven to 350ºF.
2. Upon prepping the apples, sprinkle lemon juice over the slices to prevent browning. Mix the flour, sugar, and spices together and add to the apple slices. Then add the lemon zest and butter, and mix. Add the apple mixture to a baking dish and cover with aluminum foil.
3. Bake the apple mixture for approximately 10 minutes, until the apples are barely fork-tender. Remove the foil, mix, and cool completely. For mini pies, pre-baking the apples ensures that the crust and apples will both be fully cooked.
4. Spoon the cooled apple filling into the shells, all the way to the top. Sprinkle crumble generously over the top.
5. Bake in the oven for 20 minutes, then rotate and bake for an additional 5-10 minutes, removing when they are very well browned.
6. After removing the mini pies from the oven, allow them to cool partially in the pan for 10 minutes before removing them with an offset spatula and placing them on a sheet pan to cool completely.
MINI PIE TIPS
Crust: Work with speed and confidence!
- Butter your tin: You can use any standard muffin tin to make mini pies at home! It’s essential that you butter your muffin tin very generously. The tiny amount of filling inside of each mini pie will quickly heat up and will likely puff up or boil over. Baked-on filling can make it impossible to remove each pie from the tin, which will ruin your dreams of perfect presentation. The solution? Melt butter, and then use a brush to generously grease your muffin tin, including the top of the pan.
- Roll your crust into a rectangle: When making a full-sized pie, we use a French (tapered) rolling pin to ensure that each roll-out stays perfectly circular. For mini pies, you’ll want to end up with a number of evenly sized circles, so roll your dough into a rectangular shape so you can get more shells from each rollout. As with full-sized pies, keep your dough cold so that you can work with it more easily, and be sure to flour your surface well so that you’ll be able to easily remove your circles of dough once they’ve been cut. Roll your dough to an even thickness of about ⅛ inch. To make a dozen mini pies, you’ll need a double recipe of regular pie crust.
- Use the lid of a standard takeout container to create a perfectly sized shell: If you have a large circular biscuit cutter, you can use it to cut out circles of dough, but the lid of a standard takeout container and a pizza slicer work just as well. Transfer your circles of dough to a cookie sheet lined with parchment paper and chill for at least 30 minutes before using them.
- Keep your dough cold: The heat from your hands can quickly turn your mini roll-outs into a melted disaster! Working quickly, fit the circles of dough into the muffin tin, pressing the center down first, and then fitting the dough in so that it is in full contact with the corners and sides of the muffin cups (no air bubbles!). Place in the refrigerator to chill while you mix your fillings.
Filling: Almost the same, just mini.
- Custard filling for standard pies translates easily into the mini pie format, but fruit pies are another matter. Because mini pies are so tiny, you’ll need to slice your fruit into smaller pieces so that it will fit more easily into the mini shells and will cook more quickly. For apple pies, we recommend pre-cooking the fruit, as there is nothing worse than apple pie with an overdone crust and undercooked apples.
Toppings: Here’s where it gets super duper adorable.
- Lattice: It’s nearly impossible to weave mini lattice like you would on a normal pie (the strips are so thin that they warm and become impossible to work with almost immediately), but you can achieve the same result by cutting very thin strips with a sharp knife or pizza slicer, chilling well, and then laying them across the top off the mini pies, one way and then the other. Trim the edges off, and then press the ends of the strips into the edge of the bottom crust. If your lattice strips are difficult to work with, chill the whole tin of mini pies in the freezer for 5 to 10 minutes before completing this step. Brush with cream and sprinkle with sugar for a well-browned mini masterpiece!
- Crumble: Crumble is the easiest topping to work with on mini pies. Just sprinkle it generously over the top of your fruit filling and you are good to go!
Baking: The finished product
- Mini pies take far less time to bake than standard pies. Bake them in 350 degree oven for 20 minutes, then rotate and bake for 5 to 10 minutes, removing when they are very well browned.
- After removing the mini pies from the oven, allow them to cool in the pan for just a few minutes before removing them with an offset spatula and placing them on a sheet pan to cool completely. (You’ll want to remove them from the pan while still slightly warm to prevent the cooked sugar from hardening, which will make it impossible to get the mini pies out without mangling the crust.)
Farmers Market Ingredients